 , fast delivery, and backed by our world-class customer service every step of the way.
  1-800-881-6093
 Back
Back
Mailer Box Sizes: The SMB Seller's Quick Guide
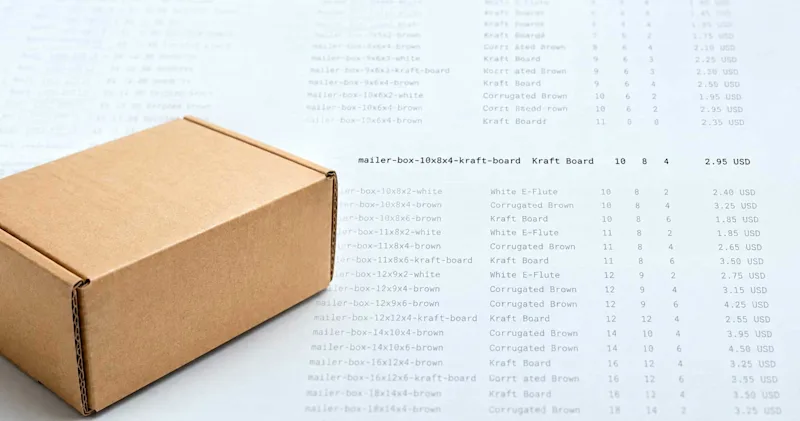
The most common mailer box sizes in e-commerce include several standard internal dimension options measured in inches. The single rule that determines which one you need: measure your product’s bounding box, then add 0.25" clearance per side for padding and consistent packing at scale.
Here’s how those standard sizes map to typical products:
4×4×2 — Small jewelry, single cosmetics, folded cards, or compact accessories
6×6×2 — Candles, small apparel accessories, single product retail boxes
8×6×4 — Folded T-shirts, small electronics, cosmetics sets, or subscription samples
10×8×4 — Multi-item kits, mid-size apparel, boxed skincare sets
12×9×4 — Larger bundles, multi-product subscriptions, or gift sets with inserts
All dimensions above are internal (usable) measurements. Your shipping cost is calculated on the external size, which runs slightly larger due to board thickness, and on dimensional weight if the box is light relative to its volume.
Key Takeaways
Choosing the right mailer box size comes down to one rule: measure your product’s bounding box, add 0.25" clearance per side, and match the result to the smallest standard size that covers all three dimensions.
| Point | Details |
|---|---|
| The 0.25" clearance rule | Add 0.25" per side to your product’s bounding box to find the minimum internal box size you need. |
| Most common standard sizes | 4×4×2, 6×6×2, 8×6×4, 10×8×4, and 12×9×4 (internal dimensions) cover the majority of e-commerce products. |
| USPS parcel classification | Most mailer boxes ship as parcels; DIM weight, not classification, is the primary cost driver to manage. |
| When to go custom | Products taller than 4", irregular footprints, or high-presentation brands benefit most from custom dimensions. |
| Packwire for sizing and fit | Packwire’s 3D configurator and sample ordering let you validate internal dimensions and artwork before full production. |
Table of Contents
What are the common mailer box sizes and how do they compare?
What USPS size rules affect your mailer box selection and cost?
How do you choose the right mailer box size for your product?
What are the common mailer box sizes and how do they compare?
Internal dimensions follow the W × L × H convention: width is the shorter horizontal measurement, length is the longer, and height is the depth when the box is closed. External dimensions typically exceed internal ones by roughly 0.188–0.25" per edge, depending on board thickness and glue.
| Internal Size (W×L×H) | Typical Product Examples | DIM Sensitivity |
|---|---|---|
| 4×4×2 | Jewelry, single cosmetics, small accessories | Low |
| 6×6×2 | Candles, folded scarves, retail boxed goods | Low |
| 8×6×4 | Folded tees, small electronics, cosmetics kits | Moderate |
| 10×8×4 | Skincare sets, mid-size apparel, multi-item kits | Moderate |
| 12×9×4 | Gift bundles, subscription boxes, larger kits | Higher |
| 10×12×2 | Flat apparel, posters, documents, thin prints | Low–Moderate |
Supplier size charts show that five of the six most common standard mailer sizes carry a 2" depth. That constraint matters: if your product stands taller than about 1.5" after accounting for clearance, you’ll need the 4" depth option or a custom size. The 8×6×4 is the go-to deeper option for taller items like folded garments or boxed accessories.
There is no single regulatory standard for mailer box dimensions. The sizes above are practical industry conventions, not mandated specifications, so sizing ranges vary by supplier across the common e-commerce range of 6×4×2 up to 14×10×4.
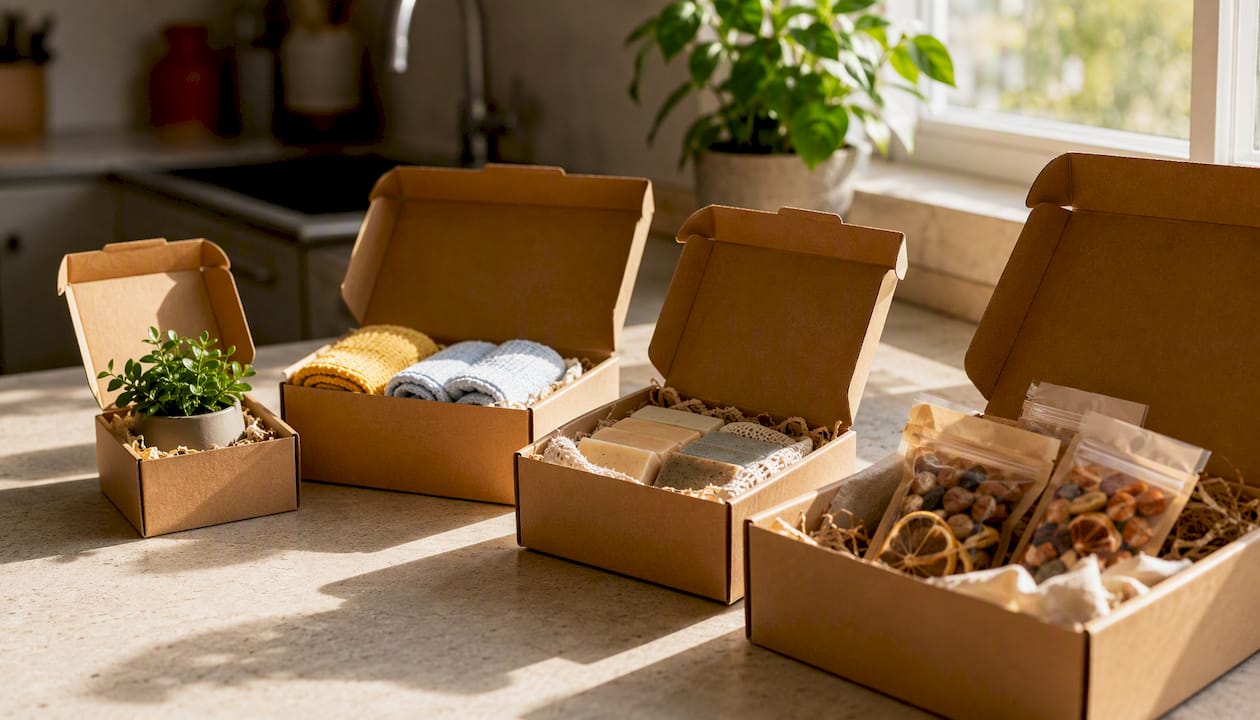
Product-fit notes: A 6×6×2 comfortably holds a single pillar candle in a retail sleeve. A 10×8×4 fits a two-piece skincare set with a foam insert. A 12×9×4 handles a four-item subscription kit with tissue paper and a card insert, provided each item is measured individually before finalizing the bounding box.
How do you measure mailer box dimensions correctly?
Measure your product’s bounding box first, then add clearance. That sequence prevents the most common ordering mistake: specifying a box that fits the product but leaves no room for padding or inserts.
Follow this checklist before placing any order:
Measure width at the widest point of the product (including any retail packaging)
Measure length at the longest horizontal dimension
Measure height at the tallest point, including lids, handles, or protruding parts
Add 0.25" clearance per side to each dimension for padding and packing speed
Account for insert thickness — foam, cardboard dividers, or tissue paper all consume internal space
Convert to internal box dimensions — the number you give a supplier should reflect usable interior space, not the product’s bare dimensions
Pro Tip: Always specify internal dimensions when ordering from a supplier. External dimensions are what carriers measure for dimensional weight, but internal dimensions are what determine whether your product and padding actually fit. Confirm which convention your supplier uses before submitting a dieline or order.
Board thickness changes external measurements by roughly 0.188–0.25" per edge. For a standard 8×6×4 internal box, the external footprint will be approximately 8.4×6.4×4.4 — small enough to be negligible on most shipments, but worth tracking if you’re near a carrier’s dimensional-weight threshold.
What USPS size rules affect your mailer box selection and cost?
USPS dimension rules determine when a package moves from flat-rate letter pricing to parcel pricing, and that shift can add meaningful postage cost. The USPS Domestic Mail Manual (DMM) is the authoritative reference for every threshold below.
Key classification thresholds:
Letters: Maximum 11.5" long × 6.125" high × 0.25" thick. Almost no mailer box qualifies here.
Flats (large envelopes): Up to 15" long × 12" high × 0.75" thick. Very flat mailers (think 10×12×0.5) can qualify, but most rigid mailer boxes do not.
Parcels: Anything exceeding flat dimensions ships as a parcel. The combined length + girth limit for standard parcels is 108".
Size check: A standard 8×6×4 mailer box has a girth of (6+4) × 2 = 20", plus 8" length = 28" combined. Well within the 108" parcel limit, but it ships at parcel rates, not flat rates.
For most mailer boxes, the practical cost implication is dimensional weight (DIM weight), not classification. Carriers calculate DIM weight by dividing the external cubic inches by a divisor (typically 139 for USPS Ground Advantage). If DIM weight exceeds actual weight, you pay the higher rate. Oversizing your box by even one size tier raises the external volume and can push a lightweight shipment into a higher DIM bracket. That’s the real cost argument for tight-fitting boxes.
For very flat products like documents or thin prints, envelope sizing may qualify for flat rates and cost significantly less than a rigid mailer box.
How do you choose the right mailer box size for your product?
Start with your product’s bounding box, map it to a standard size, and only go custom when the standard options leave too much empty space or don’t fit your product’s height. Here’s the decision sequence:
Measure the bounding box — width, length, and height at the widest, longest, and tallest points, including retail packaging
Add 0.25" clearance per dimension — this is your minimum internal size requirement
Compare to standard sizes — find the smallest standard size that meets or exceeds all three dimensions
Account for inserts and padding — foam inserts, dividers, and tissue paper reduce usable internal space; re-check fit after accounting for them
Calculate external DIM — add ~0.25" per edge to each internal dimension, then calculate length + girth to confirm you’re within carrier limits
Estimate shipping cost at both the matched size and one size up — sometimes a slightly larger box costs the same to ship but packs faster
Order a sample unit before committing to a production run to verify packing speed, cushioning, and unboxing presentation
Decision flags to watch for:
Product height exceeds 1.75" after clearance: you likely need a 4" depth box, not a 2" depth
Irregular shape (round, L-shaped, or multi-piece): calculate the full bounding box, not just the largest single dimension
Excessive void fill: if you’re using more than 1–2" of padding on any side, the box is too large and you’re paying DIM weight on air
On the environmental side, a tighter-fitting box uses less corrugated material and less void fill, which reduces both material cost and packaging waste. A box that’s one size too large can increase material cost per unit and add weight that compounds across thousands of shipments. That said, a box that’s too tight complicates packing at speed and raises damage rates — the right-sizing approach balances both.
What fits in common mailer box sizes? Practical examples
Here are practical product-to-box pairings to speed your selection, drawn from common size ranges by product category:
| Product Example | Suggested Internal Size | Why It Fits |
|---|---|---|
| Single pillar candle (retail sleeve) | 6×6×2 | Candle diameter ~5", sleeve adds ~0.25"; 2" depth holds upright |
| Folded crew-neck T-shirt | 8×6×4 | Folded apparel typically 7×5×2.5"; 4" depth accommodates fold |
| Two-piece skincare set with foam insert | 10×8×4 | Two bottles side by side ~8×6×3"; foam insert needs ~0.5" |
| Small electronics accessory (earbuds + case) | 6×4×3 | Retail box ~5×3×2.5"; clearance fits a thin foam pad |
| Four-item subscription kit with tissue | 12×9×4 | Four small items plus tissue paper fit an 11×8×4 bounding box |
| Folded poster or flat print | 10×12×2 | Flat items up to 9×11" fit with a backing board |
A few notes on these pairings:
The folded T-shirt example assumes a standard fold to roughly 7×5". A hoodie or heavyweight sweatshirt folds thicker and usually needs a 10×8×4 or custom depth.
The subscription kit row assumes items are arranged flat, not stacked. Stacked arrangements increase height and may require a 5–6" depth, which pushes you to custom sizing.
For the electronics accessory, a 6×4×3 is not a standard 2" depth option. If your supplier only stocks 2" depths, the next step up is 6×6×2 (wider footprint) or a custom depth.
Why do many brands choose custom printed mailer boxes?
Standard sizes work well when your product fits cleanly into one of the common footprints. Many brands move to custom mailer boxes when a standard size leaves too much empty space, when the product height falls between the 2" and 4" depth options, or when the unboxing presentation is a core part of the brand experience.
Packwire’s custom mailer boxes let you specify internal dimensions directly, so you’re ordering to fit your product rather than adapting your product to a stock size. The 3D configurator shows internal dimensions in real time, previews your artwork on the box, and calculates pricing and lead times instantly. Low minimum order quantities make it practical to test a new size without committing to a large production run, and a pre-print artwork review catches fit and print issues before anything goes to press.
Pro Tip: Go custom when your product height exceeds 4", when your footprint is unusual (round, L-shaped, or very wide and shallow), or when brand presentation is a primary purchase driver. For straightforward rectangular products under 4" tall, a standard size usually ships faster and costs less per unit.
Before finalizing any production run, order a physical sample. Pack it at your actual fulfillment station, time the pack speed, and check whether the packaging inserts you’ve planned actually fit without forcing the lid. That single step prevents the most expensive sizing mistakes.
The trade-off most sellers get wrong
Most sizing guides tell you to prioritize fit and protection, then worry about postage. That’s correct in principle, but the execution is where SMB sellers consistently leave money on the table.
The real mistake isn’t choosing a box that’s too small. It’s choosing a box that’s slightly too large because it “feels safer” and then absorbing the DIM weight cost on every single shipment. A 10×8×4 box shipping a product that would fit in an 8×6×4 adds roughly 64 cubic inches of external volume. Across 500 shipments a month, that’s a meaningful carrier cost difference, compounded by the extra void fill you’re buying to fill the space.
The opposite error is just as costly: a box so tight that your fulfillment team has to force the lid, which slows pack speed and increases damage rates. Both errors show up in your numbers — one in shipping costs, the other in returns and damage claims.
The practical fix is a sample run before production. Pack 10–20 units at your actual fulfillment station, measure pack time, and check whether any product arrives damaged after a realistic drop test. That data tells you whether to size up, size down, or add a different insert type. No amount of measuring on paper replaces that physical test.
Packwire makes it easy to get sizing right from the start
Sizing a mailer box correctly the first time saves you from reprints, damaged shipments, and wasted void fill. Packwire’s self-serve mailer box configurator lets you enter your internal dimensions, preview full-color artwork in 3D, and get instant pricing — no sales call, no minimum-order negotiation.
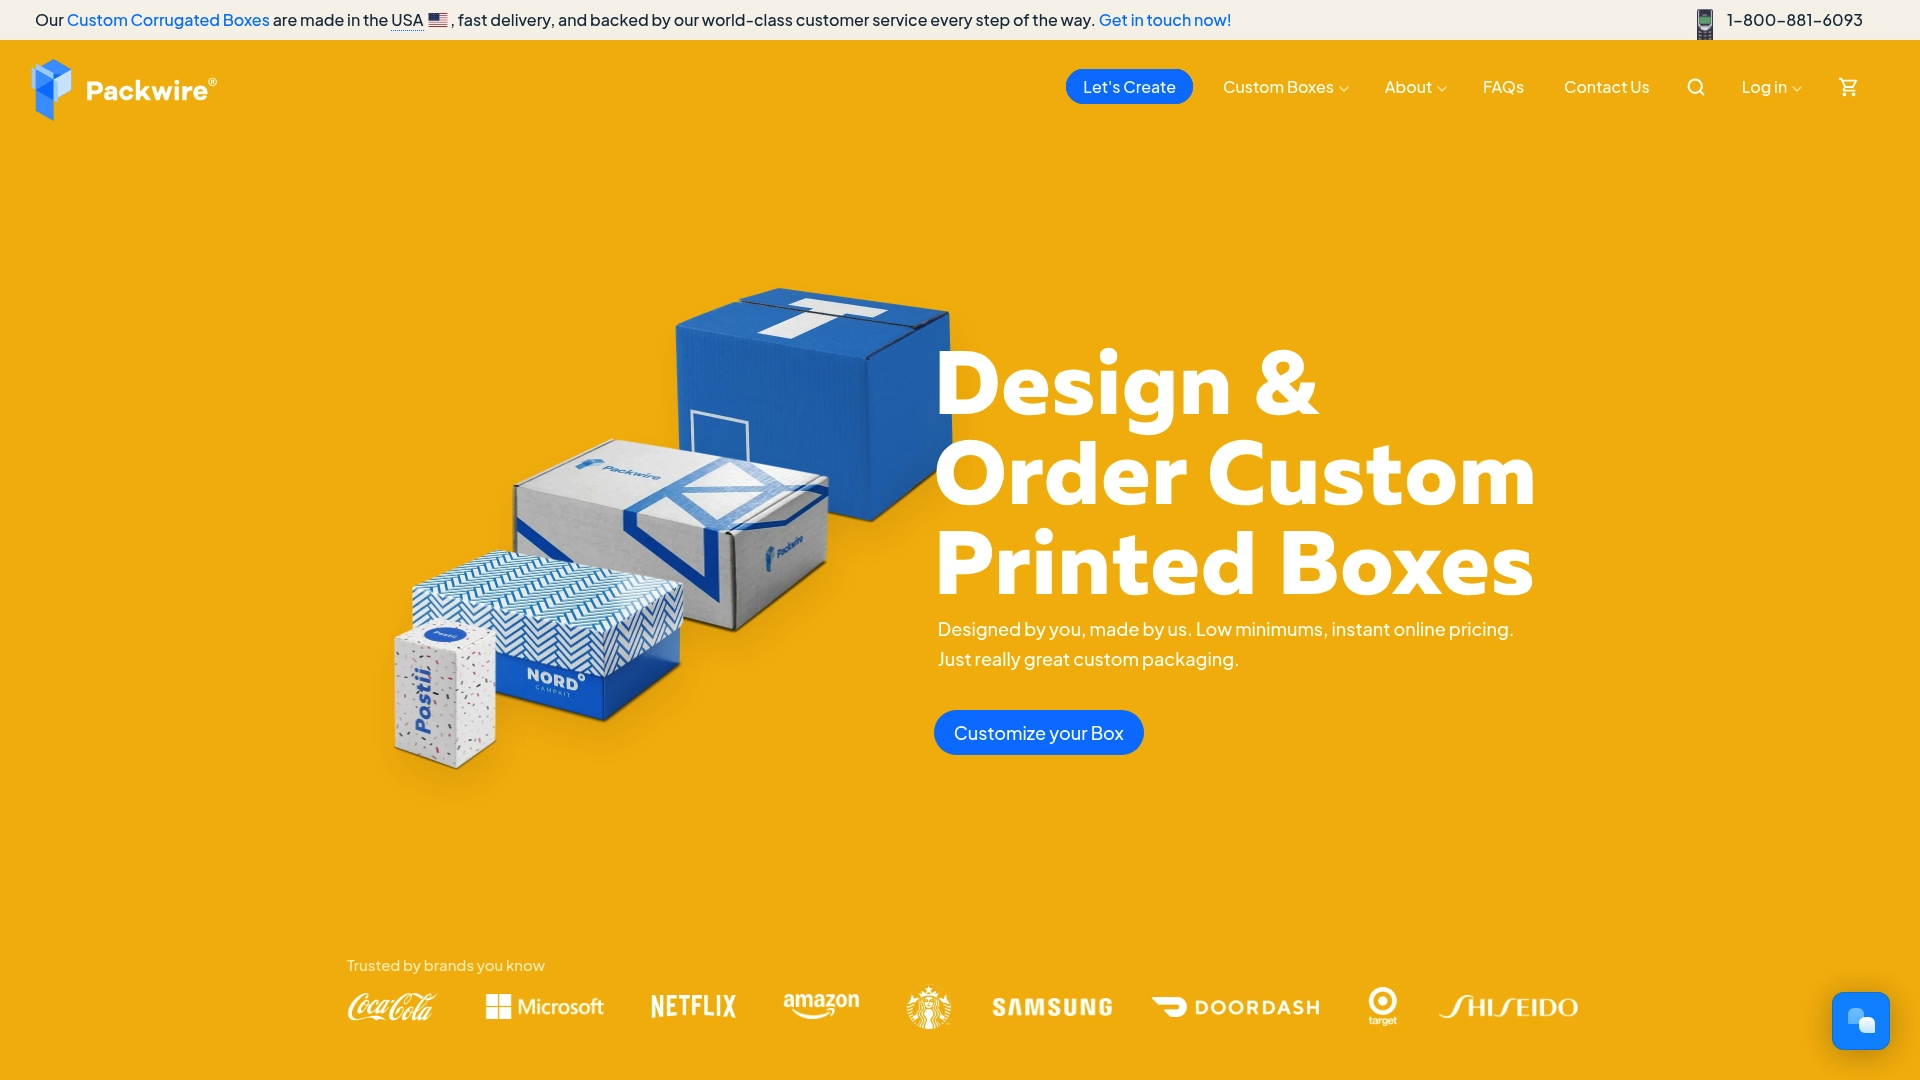
The workflow is straightforward: measure your product, enter the internal dimensions in the configurator, upload your artwork or build it in the tool, and order a sample before committing to a full run. Packwire’s artwork review team checks your file before anything prints, so fit and print quality are confirmed before production starts. Whether you need a standard 8×6×4 or a fully custom footprint, you can Packwire with low minimums that work for SMB order volumes.