 , fast delivery, and backed by our world-class customer service every step of the way.
  1-800-881-6093

 Back
Back
How to Measure Box Dimensions for Shipping and Packaging
Record every box as Length × Width × Height (L × W × H). Use external dimensions when shipping; use internal dimensions when ordering custom packaging to guarantee product fit. Per UPS carrier rules, always round fractional inches up to the next whole number before declaring measurements to any carrier.
Table of Contents
- What tools do you need to measure box dimensions accurately?
- How to measure a box step by step
- External vs. internal dimensions: which one do you use?
- How do you measure irregular, bulging, or cylindrical packages?
- Common measurement mistakes that lead to carrier penalties
- What Packwire recommends before you order custom printed boxes
- Custom boxes built to your exact measurements
- Sources
What tools do you need to measure box dimensions accurately?
Getting the measurement right starts before you touch the tape. The wrong tool or a wobbly surface introduces errors that automated carrier scanners will catch and bill you for.
Tools to have on hand:
- Steel tape measure (25-foot): Best for large shipping boxes; rigid enough to hold a straight line across long runs.
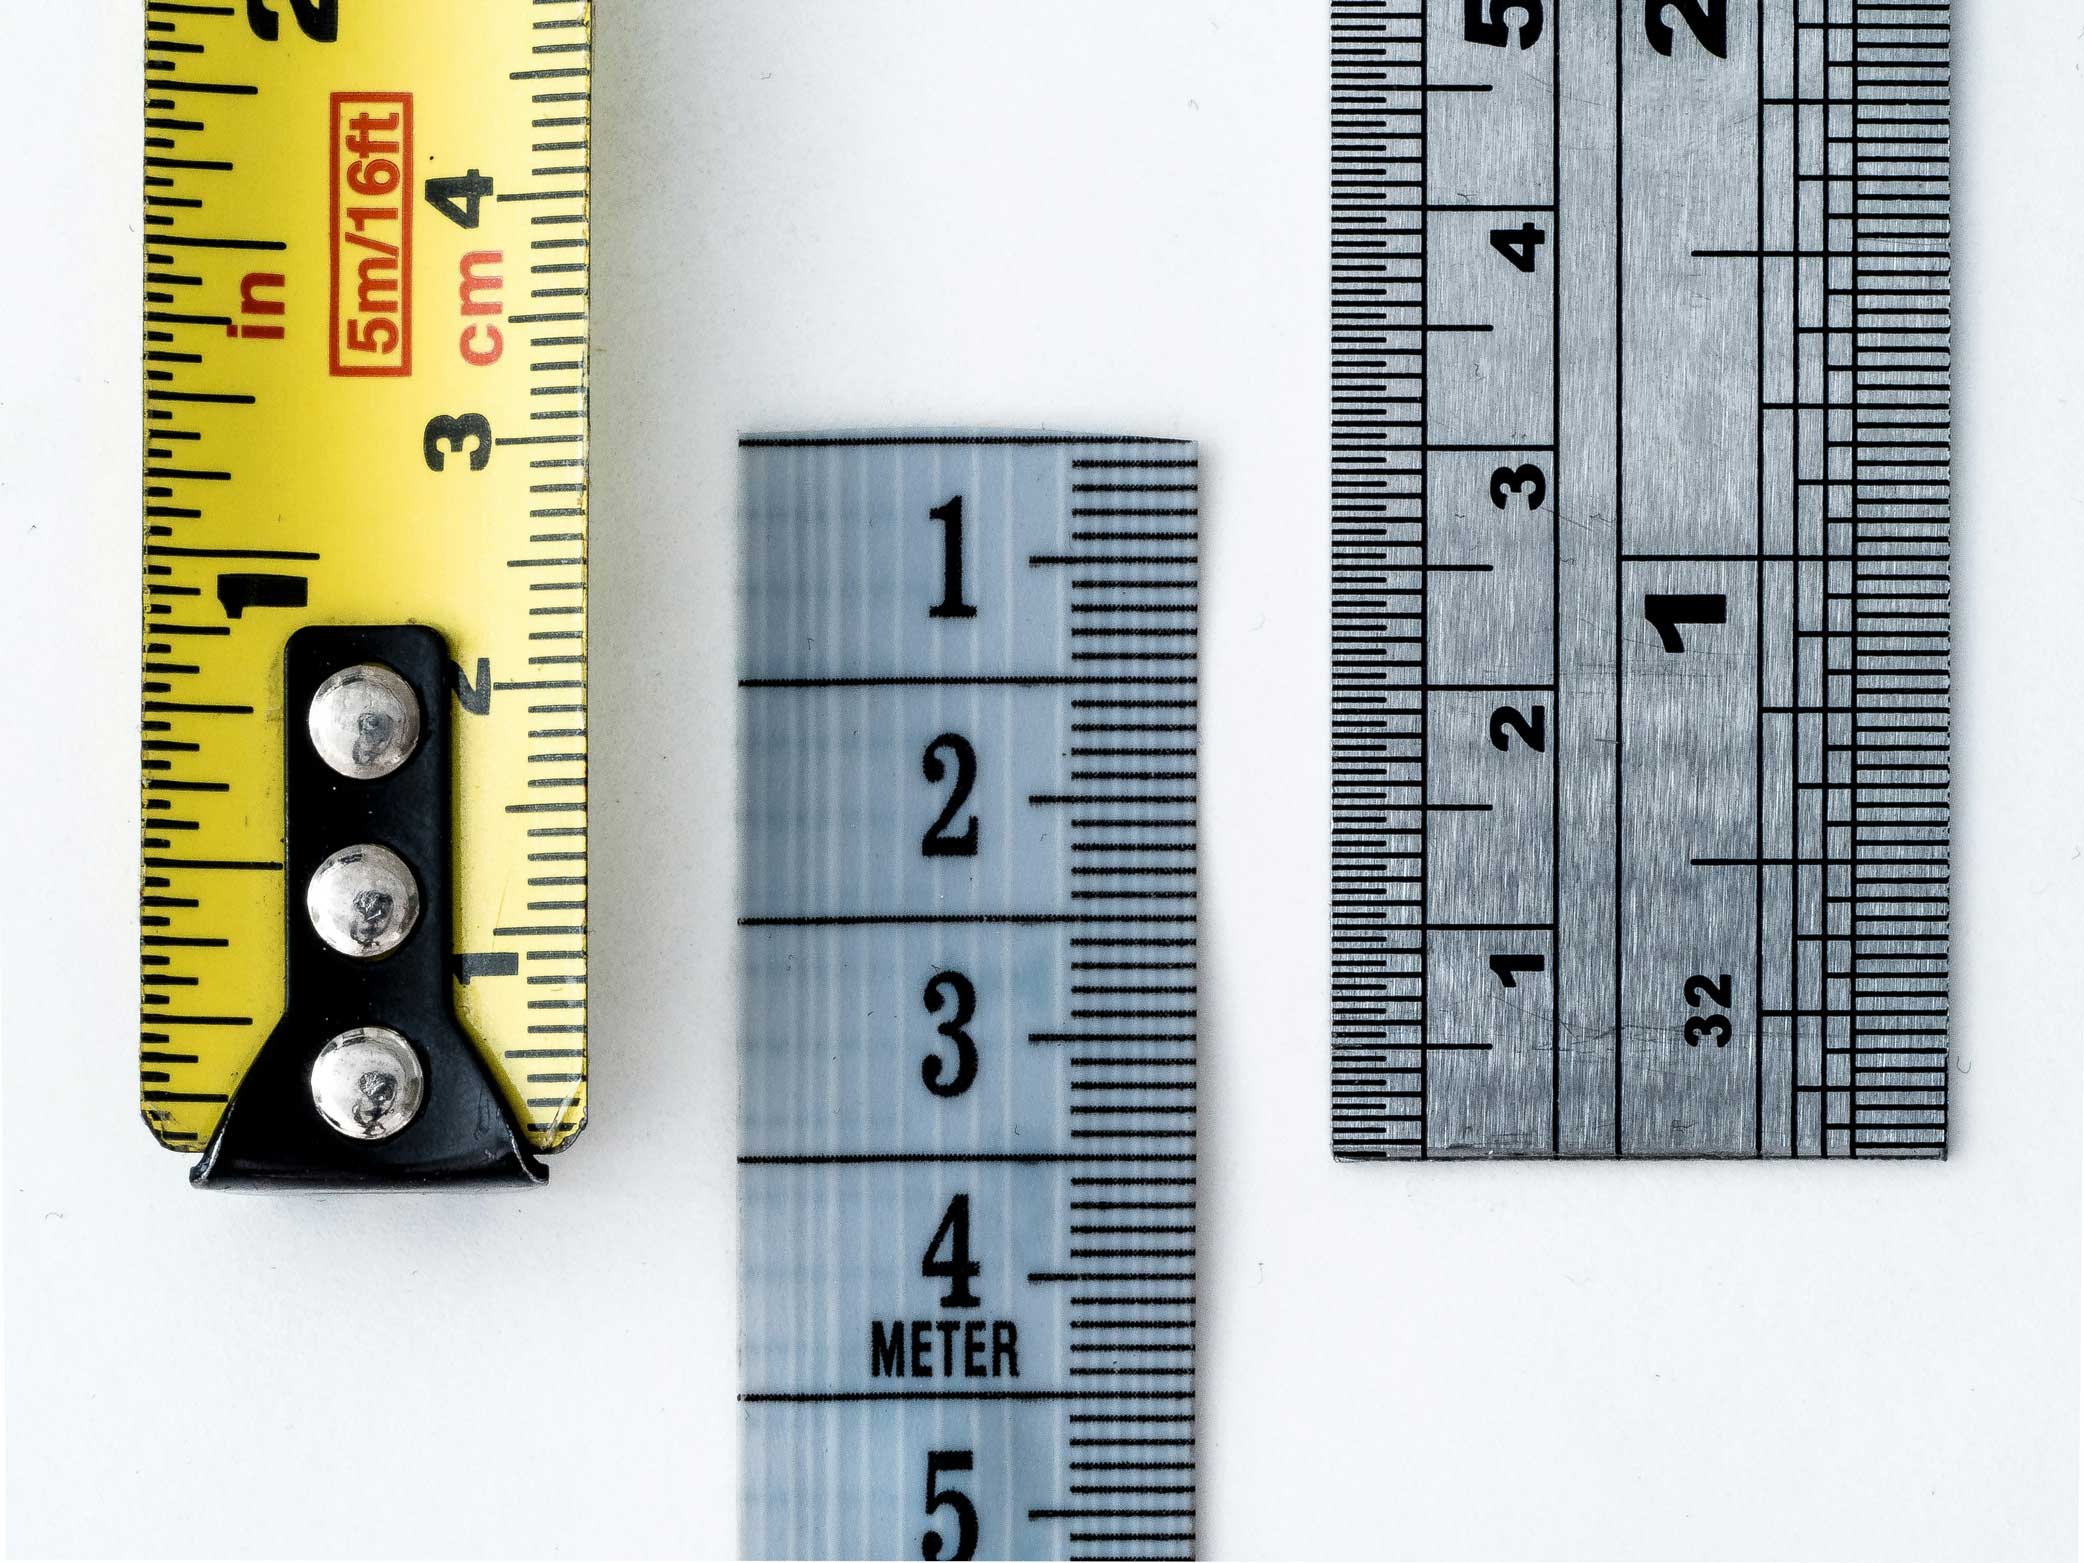
- Rigid ruler or 12-inch steel rule: Ideal for small boxes and mailer boxes where a flexible tape can sag.
- Digital calipers: The most precise option for very small items, rigid boxes, or when you need sub-inch accuracy.
- Smartphone Measure app (iOS or Android): Useful as a quick secondary check, not a primary measurement tool.
- Pencil or small sticker tabs: Mark endpoints on long runs so the tape doesn't shift before you read the number.
Workspace setup:
Place the box on a flat, stable surface, such as a table or hard floor. Close all flaps and pack the box as it will ship. DHL recommends measuring on a flat surface and including any protrusions, tape, and handles in your external dimensions — because carrier scanners capture those points regardless of what you declare.
Pro Tip: When measuring a long box solo, press a sticker tab at the far endpoint before stretching the tape. It prevents the tape from sliding and eliminates the most common single-person measurement error.
How to measure a box step by step
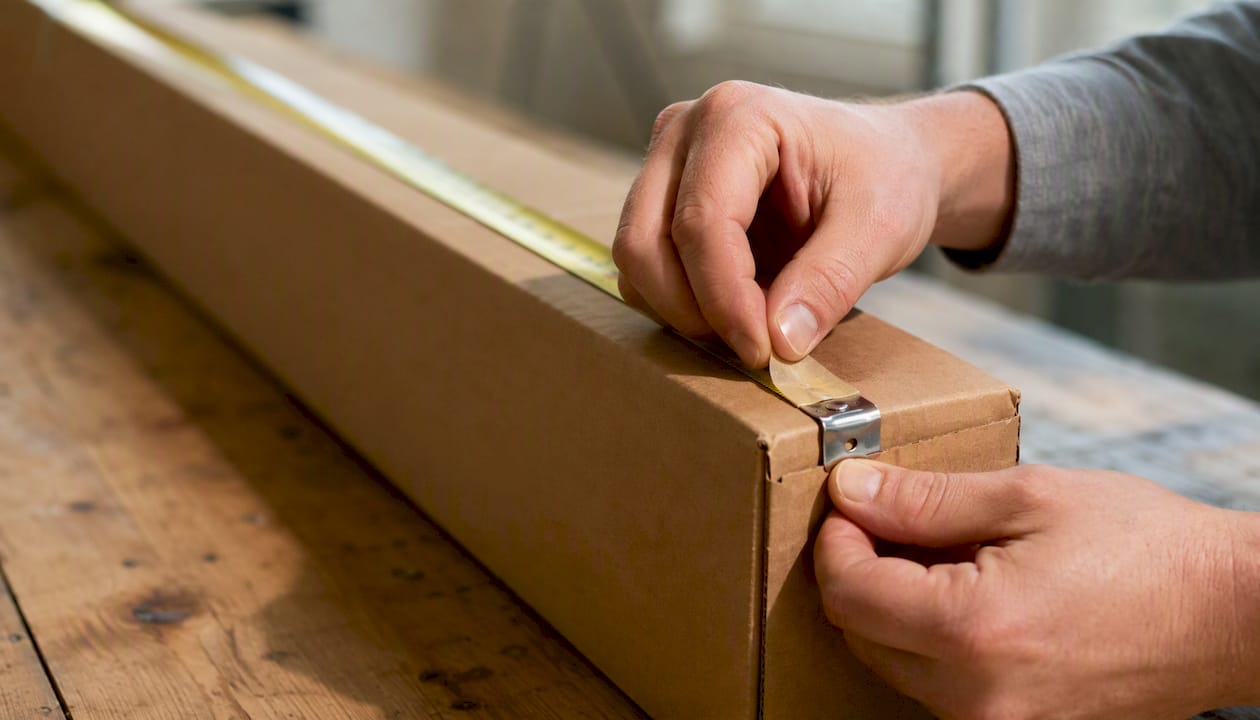
Shopify's shipping guide defines the standard clearly: length is the longest side of the box opening, width is the shorter side perpendicular to length, and height is the vertical distance from base to top. That order, L × W × H, is the industry standard across UPS, FedEx, and USPS.
Step-by-step:
- Place the box on a flat surface, flaps closed. The box should be packed and sealed exactly as it will be shipped.
- Measure the length. Run the tape along the longest side of the box's footprint (the side with the flap seam). Record in inches.
- Rotate 90° and measure the width. This is the shorter footprint side, perpendicular to the length you just measured.
- Measure the height. Hold the tape vertically from the flat surface to the top of the box. Do not compress the box.
- Round every fraction up. A box measuring 12.3 inches on any side gets recorded as 13 inches. No exceptions for carrier declarations.
- Record as L × W × H. Write it on your shipping manifest or label immediately. Example: 14 × 10 × 8 in.
- Measure twice, photograph once. Snap a photo of the tape against each dimension before moving the box.
For nested or double-boxed shipments: Measure the outer box only for carrier declarations. Record the inner box dimensions separately on your packing slip for inventory or returns processing.
Pro Tip: For boxes over 24 inches on any side, use two people. One holds the tape end; the other reads the measurement. A sagging tape on a 30-inch box can cost you a full inch of error.
External vs. internal dimensions: which one do you use?
This is where most measurement mistakes happen, and the cost shows up on your shipping invoice or in a product return.
The rule is straightforward:
| Purpose | Measurement type | What to include |
|---|---|---|
| Carrier shipping calculation | External | All sides, tape, labels, protrusions, handles |
| Ordering custom boxes for product fit | Internal | Inside cavity only; exclude corrugation and padding |
| Storage/warehouse slotting | External | Full outer footprint including any reinforcement |
ParcelPath explains that using the wrong measurement type is one of the most common causes of product damage and unexpected shipping fees. External dimensions include the corrugated wall thickness, any applied tape, and any bulge from overstuffed contents. Internal dimensions reflect only the usable cavity.
Worked dimensional-weight example:
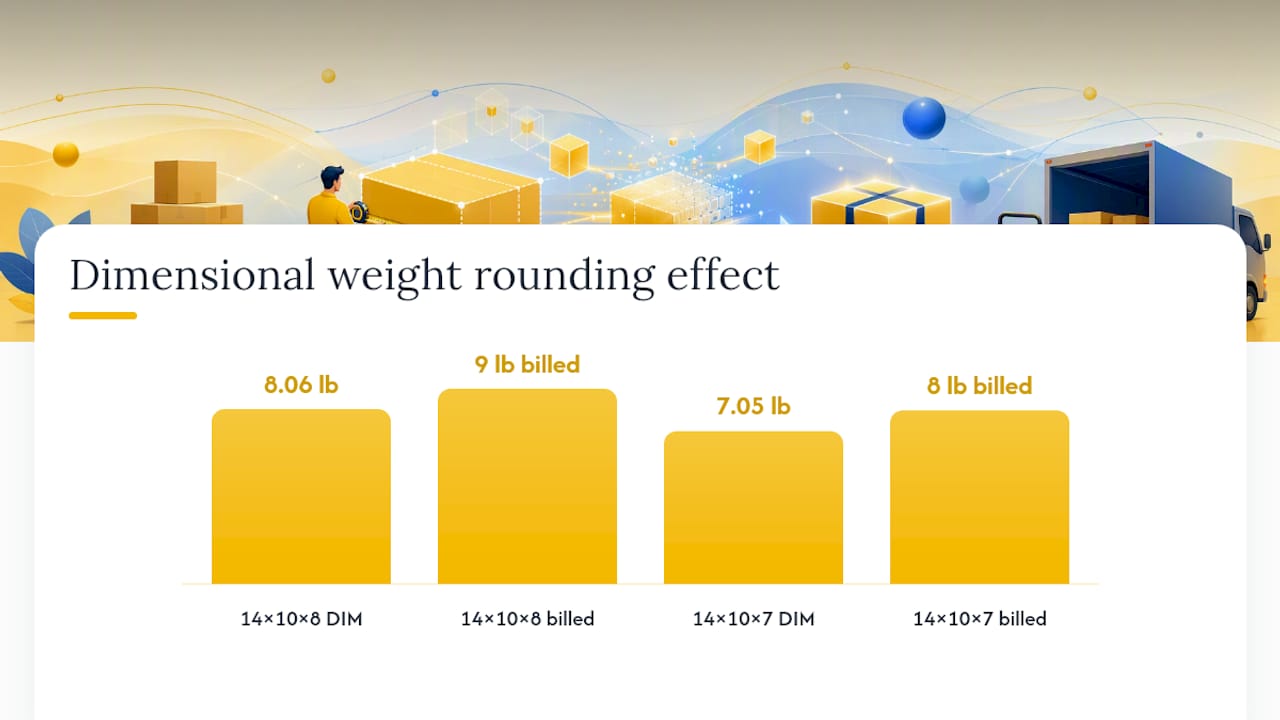
Say your box measures 14 × 10 × 8 inches externally, with a 0.4-inch fraction on the height that rounds up to 8 inches.
- Volume: 14 × 10 × 8 = 1,120 cubic inches
- Dimensional weight (DIM): 1,120 ÷ 139 (UPS/FedEx domestic divisor) = 8.06 lbs, billed as 9 lbs after rounding up.
- If you had recorded height as 7 inches (rounding down): 14 × 10 × 7 = 980 ÷ 139 = 7.05 lbs, billed as 8 lbs.
That single rounding error costs you one full billed pound. Multiply across hundreds of shipments and the impact is real. Use Packwire's dimensional weight calculator to run these numbers before you print a label.
Carrier rounding rule (effective August 2025): Since August 2025, FedEx and UPS round up every fractional inch to the next whole number before calculating dimensional weight. A box declared as 12.1 × 9.7 × 6.3 inches is billed as 13 × 10 × 7. ParcelPath documents this policy change and notes it can push packages into higher dimensional-weight brackets with no warning.
How do you measure irregular, bulging, or cylindrical packages?
Standard rectangular boxes are straightforward. Irregular shapes need a different approach because carriers bill on the bounding box — the smallest rectangular box that could contain your package.
For bulging or overstuffed boxes:
- Let the package rest naturally on a flat surface without pressing or compressing it.
- Measure the widest point of each dimension, even if the bulge is off-center.
- Include handles, wheels, straps, or any protrusion that extends beyond the main body.
- Record those maximum points as your L, W, and H.
Shopify's guide confirms this approach: measure irregular items as if they sit inside the smallest rectangular box that contains them, capturing the extreme outer points on every axis.
For cylindrical items (tubes, rolled posters, drums):
- Measure the length along the central axis.
- Measure the diameter at the widest cross-section and use that figure for both width and height.
- Record as: length × diameter × diameter.
Girth calculation: Carriers also check length + girth on oversized packages. Girth = 2 × (W + H). A tube that is 36 inches long with a 6-inch diameter has a girth of 2 × (6 + 6) = 24 inches, giving a combined length + girth of 60 inches.
Pro Tip: Use a flexible fabric tape to measure girth around an irregular shape. Wrap it at the widest cross-section, not the middle, and read the circumference. Then calculate: girth = circumference is NOT the same as 2 × (W + H) for a true cylinder — use the diameter method above for billing accuracy.
Common measurement mistakes that lead to carrier penalties
Most billing surprises trace back to one of five errors. Run through this checklist before you seal any shipment.
Common mistakes:
- Measuring the inside of the box instead of the outside for a shipping declaration.
- Measuring on a carpet, bed, or uneven surface — the box tilts and every dimension reads short.
- Rounding down fractional inches instead of up.
- Ignoring tape, labels, or a bulging seam in the external measurement.
- Swapping length and width (it doesn't change the volume, but it can affect carrier surcharge thresholds on some rate tables).
Accuracy checklist before you record:
- Box on a flat, hard surface? ✓
- Flaps closed and contents fully packed? ✓
- Measured all three dimensions with a rigid tool? ✓
- Rounded every fraction up to the next whole inch? ✓
- Included all protrusions and tape in external dimensions? ✓
- Photographed each measurement? ✓
- Written dimensions on the manifest as L × W × H in inches? ✓
The single most costly mistake: Measuring a packed box on a soft surface. Automated hub scanners use high-precision laser systems that detect the true outer points of every package. If your declared dimensions are smaller than what the scanner reads, the carrier applies a dimensional-weight adjustment — and sometimes an address-correction or handling surcharge on top of it.
For fashion retailers shipping apparel internationally, global shipping dimension rules add another layer of complexity, since some carriers apply different DIM divisors by destination region.
What Packwire recommends before you order custom printed boxes
When you're ordering custom boxes rather than shipping existing ones, internal dimensions are what matter. The external dimensions of a custom box are determined by the manufacturer based on the material thickness you select.
How to convert product dimensions to internal box size:
Measure your product's L × W × H, then add clearance for any inserts or protective material. A product that measures 10 × 6 × 4 inches needs an internal box cavity of at least 10.25 × 6.25 × 4.25 inches to account for movement and insert thickness.
Shopify notes a standard manufacturing variance of approximately ±1/8 inch is common in custom box production. Build that tolerance into your spec from the start rather than discovering it after the first print run.
For nested packaging, inserts, and rigid box builds: Always provide explicit internal measurements and review the dieline before approving print. A rigid box with a foam insert requires the insert's compressed thickness added to the internal cavity spec — not the uncompressed foam dimension. Get the dieline reviewed before you commit to a print run.
For brands using packaging inserts to elevate the unboxing experience, that insert thickness directly affects the internal dimension spec you submit.
Pro Tip: Use Packwire's 3D box configurator to enter your internal dimensions and preview the box virtually before ordering. The artwork review step catches fit issues before anything goes to print.
Why precise measurement matters beyond the shipping invoice
Most shippers focus on dimensional weight because it shows up on the bill. The less-discussed cost is the one that doesn't appear on any invoice: the product that arrives damaged because the box was 0.5 inches too large in one dimension, letting the item shift in transit.
A box that fits the product precisely protects it better, uses less void fill, and presents better when the customer opens it. That last point matters more than most brands realize. A product that slides around in an oversized box signals carelessness before the customer even sees what's inside. Accurate internal measurements are the foundation of a good unboxing experience, not just a packaging spec detail.
Precise measuring also reduces reorders. Getting the dimensions right the first time means your custom box run doesn't need a second iteration, which saves both money and lead time. The right-sizing approach that top brands use consistently starts with exact measurements, not approximations.
Custom boxes built to your exact measurements
Once you have your dimensions locked in, Packwire makes it straightforward to turn those numbers into a finished, branded box. Enter your internal measurements directly into the custom box configurator, choose your box style (mailer, shipping, folding, or rigid), and upload your artwork. Low minimum order quantities mean you're not committing to a warehouse full of boxes to get started.
Every order goes through an artwork and fit review before printing, so the dimensions you measured translate accurately to the finished product. If you're shipping corrugated boxes and want to check external dimensions against carrier requirements first, the shipping box configurator lets you do that in 3D before you place the order.
Key Takeaways
Accurate box measurement comes down to one rule applied consistently: record L × W × H using external dimensions for shipping and internal dimensions for custom packaging orders.
| Point | Details |
|---|---|
| Always use L × W × H order | Length is the longest footprint side, width is shorter and perpendicular, height is vertical. |
| External for shipping | Include tape, labels, and protrusions; carriers bill on the true outer points. |
| Internal for custom boxes | Measure the inside cavity only; add clearance for inserts and manufacturing variance of ~±1/8 inch. |
| Round every fraction up | Since August 2025, FedEx and UPS round up every fractional inch before calculating dimensional weight. |
| Packwire's configurator | Enter your internal dimensions into Packwire's 3D configurator to preview fit and get an artwork review before print. |
Sources
- How To Measure a Box for Shipping: Dimensions & Instructions - Shopify
- Shipping Dimensions and Weight | UPS - United States
- Length, Width And Height Of A Box: Easy Measuring Guide - ParcelPath
- How to Measure Box Size for Shipping - DHL Express IN | DHL India